
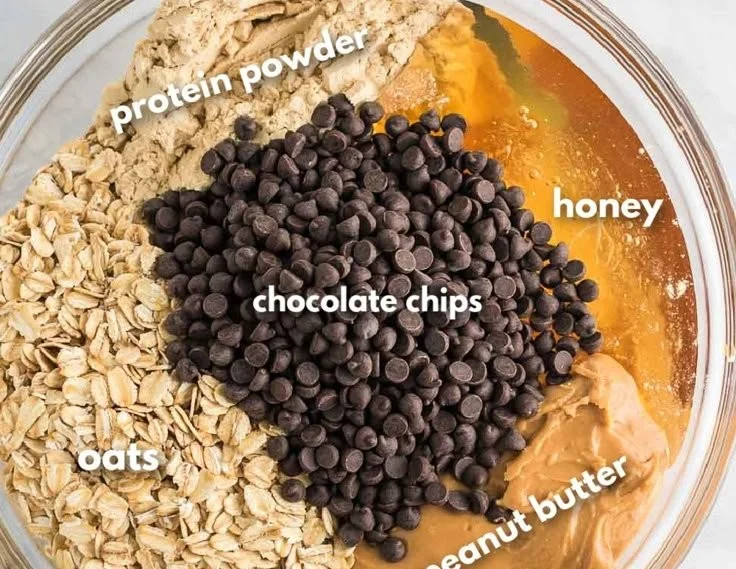
Making Healthy No Bake Protein Balls is a simple and rewarding way to enjoy a nutritious snack that packs a punch. These no-bake treats are perfect for anyone looking for a quick pick-me-up, and they provide a great combination of flavor and health benefits. Plus, they’re incredibly easy to prepare—no oven required!
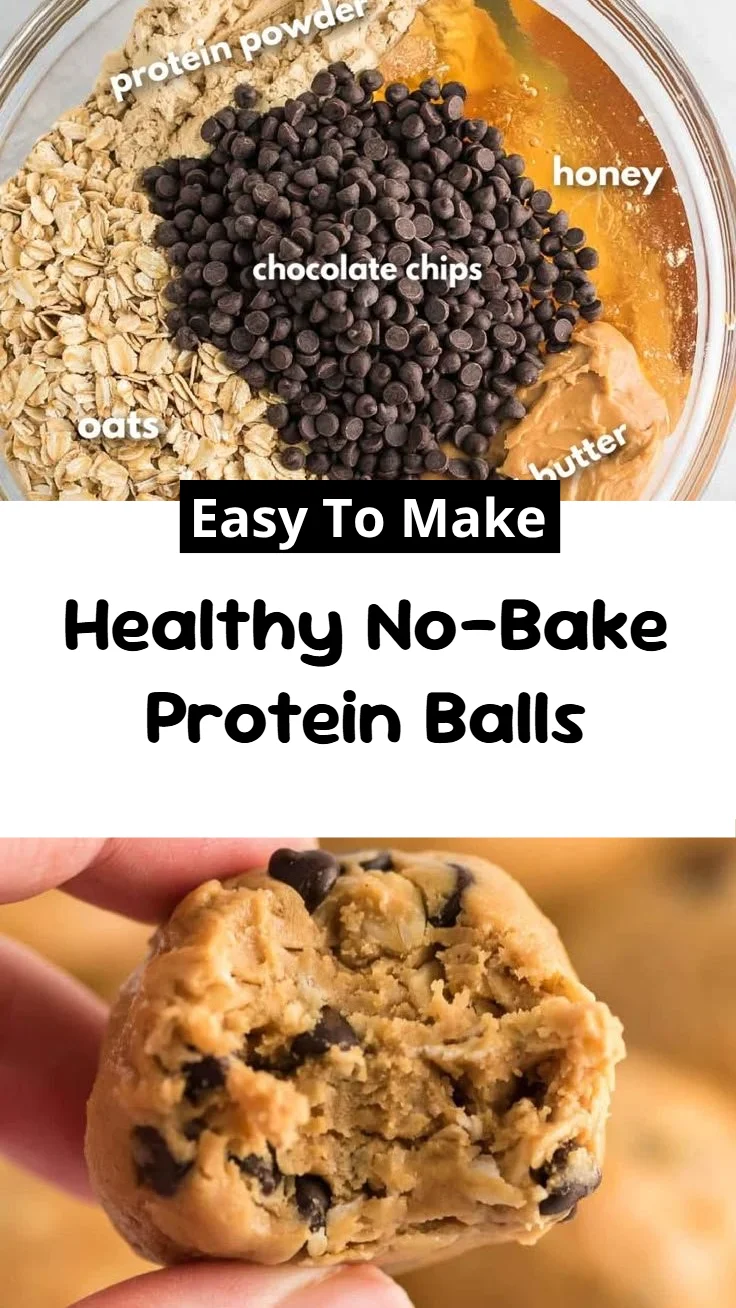
Why You’ll Love Healthy No Bake Protein Balls
- Quick and Easy: With just a few simple ingredients, these protein balls come together in no time, making them perfect for busy schedules.
- Nutritious Snack: Packed with wholesome ingredients like oats and nut butter, they’re essential for fueling your day without sacrificing taste.
- Customizable: You can easily tweak the recipe to fit your flavor preferences or dietary needs, making them a versatile snack option.
- Perfect for Meal Prep: You can make a batch ahead of time, store them in the fridge, and have them ready for whenever hunger strikes.
- Kid-Friendly: These protein balls are a delicious way to sneak some nutrition into your children’s snacks, ensuring they get the energy they need.
Recipe Overview
- Prep Time: 10 minutes
- Cook Time: 0 minutes (no baking)
- Total Time: 40 minutes (including chilling)
- Servings: 12 protein balls
- Difficulty: Easy
Ingredients You’ll Need for Healthy No Bake Protein Balls
- Base Ingredients:
- 1 cup rolled oats
- 1/2 cup nut butter (peanut, almond, or cashew)
- 1/3 cup honey or maple syrup
- Protein Boost:
- 1/4 cup protein powder
- Optional Add-ins:
- 1/4 cup mini chocolate chips (for a touch of sweetness)
- 1 tsp vanilla extract (for added flavor)
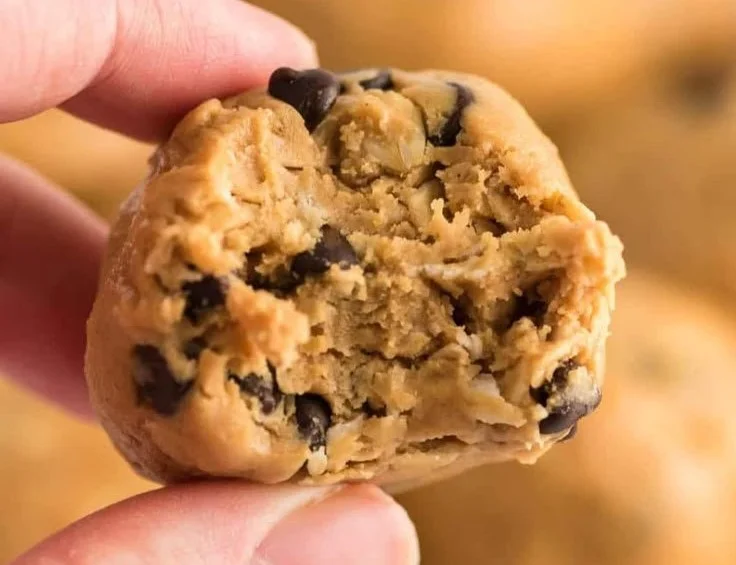
These ingredients work together to create deliciously chewy and satisfying protein balls. For the nut butter, choose your favorite type, or swap with sunflower seed butter for a nut-free version. The honey or maple syrup adds sweetness and moisture, while protein powder gives your snack an extra kick of nutrition.
How to Make Healthy No Bake Protein Balls
- Combine Ingredients: In a large mixing bowl, combine the rolled oats, nut butter, honey or maple syrup, protein powder, mini chocolate chips, and vanilla extract.
- Mix Until Sticky: Stir the mixture until everything is well-combined and sticky. If it’s too dry, add a little more nut butter or honey.
- Form Balls: Use your hands to roll the mixture into small balls, about 1 inch in diameter.
- Place on a Baking Sheet: Arrange the protein balls on a baking sheet lined with parchment paper, ensuring they are spaced apart.
- Chill: Refrigerate for at least 30 minutes to harden the balls.
- Store: Once hardened, transfer the protein balls to an airtight container and keep them in the fridge where they’ll stay fresh for up to one week. Enjoy as a healthy snack!
Tips for Success
- Stickiness Check: If the mixture feels too crumbly, add a splash of water or a little more nut butter to help it hold together.
- Chill Time: Allowing the balls to set in the fridge is crucial for achieving the right texture. Don’t skip this step!
- Batch Size: Feel free to double the recipe if you want to make more for meal prep.
- Keep Them Cold: Store them in the refrigerator for the best flavor and texture.
- Expanding Flavor: Consider adding spices like cinnamon or nutmeg for an extra dimension of flavor.
Easy Variations
- Nut-Free: Substitute the nut butter with sunflower seed butter to make these protein balls nut-free.
- Different Flavors: Experiment with flavored protein powders like chocolate or vanilla to change things up.
- Fruit Add-ins: Mix in dried fruit like cranberries or raisins for added sweetness and texture.
- Swap the Sweetener: Use agave syrup or a sugar substitute if you prefer a lower-sugar option.
- Chocolate Dipped: For an indulgent twist, dip the formed balls in melted dark chocolate and let them set.
What to Serve with Healthy No Bake Protein Balls
- Fresh Fruit: Pair these protein balls with a piece of fresh fruit for a balanced snack that adds natural sweetness and hydration.
- Yogurt: Serve them alongside Greek yogurt to enhance your protein intake and add creaminess.
- Smoothie: Enjoy with a smoothie to round out a quick breakfast or snack that’s both satisfying and nutritious.
- Nut Mix: A handful of mixed nuts can add crunch and healthy fats to your munching experience.
Storage and Reheating
- Refrigerator Storage: Keep protein balls in an airtight container in the fridge for up to one week.
- Freezer Storage: If you make a larger batch, you can freeze them for up to three months. Just thaw them in the fridge before eating.
- Best Reheating Method: For best texture, enjoy these cold; no reheating is necessary.
- Meal Prep Note: These can be a great meal prep option since they’re easy to store and a quick grab-and-go snack.
Common Mistakes to Avoid
- Too Dry Mixture: If your mixture is dry and crumbly, add a bit more nut butter to help it clump together.
- Not Chilling Enough: Skipping the chilling step can result in soft balls that fall apart easily.
- Using the Wrong Size Balls: Ensure to make them about 1 inch in diameter to ensure they set properly.
- Ignoring Texture: If they’re too sticky, add a bit more oats or protein powder to balance the texture.
Healthy No Bake Protein Balls: Background & Cultural Inspiration
No bake snacks have gained popularity in health circles for their convenience and ease. Protein balls, in particular, have roots in the growing demand for protein-rich diets, appealing to those looking for on-the-go options that promote an active lifestyle. Originating from North American kitchens, these treats are a modern take on traditional energy bites, blending wholesome ingredients to cater to the fast-paced world we live in today.
Frequently Asked Questions
Can I use quick oats instead of rolled oats?
Yes, quick oats can be used, but they may create a slightly different texture—just make sure they are not instant oats, as those will absorb liquid differently.
How long do these protein balls last in the fridge?
They can last up to one week when stored in an airtight container in the refrigerator.
Are these protein balls suitable for kids?
Absolutely! They are a nutritious snack option for children and can be a fun way for them to get involved in the kitchen.
Can I make these vegan?
Yes, use maple syrup instead of honey and ensure your protein powder is plant-based.
What if the mixture is too sticky?
If the mixture is too sticky to form into balls, add a little extra oats or protein powder until you reach the desired consistency.
Final Thoughts
Healthy No Bake Protein Balls are not only a breeze to whip up, but they also offer a delicious way to stay fueled throughout the day. With their versatility and wholesome ingredients, these snacks will quickly become a staple in your kitchen. Give this recipe a try—you might just find your new favorite snack on hand whenever you need a quick energy boost!
PrintHealthy No Bake Protein Balls
Nutritious and easy-to-make no bake protein balls, perfect for a quick snack. Packed with wholesome ingredients, these are ideal for meal prep and kids.
- Prep Time: 10 minutes
- Cook Time: 0 minutes
- Total Time: 40 minutes
- Yield: 12 protein balls
- Category: Snacks
- Method: No Bake
- Cuisine: American
- Diet: Vegan
Ingredients
- 1 cup rolled oats
- 1/2 cup nut butter (peanut, almond, or cashew)
- 1/3 cup honey or maple syrup
- 1/4 cup protein powder
- 1/4 cup mini chocolate chips (optional)
- 1 tsp vanilla extract (optional)
Instructions
- Combine all ingredients in a large mixing bowl.
- Mix until everything is well-combined and sticky.
- Form the mixture into small balls about 1 inch in diameter.
- Place the balls on a baking sheet lined with parchment paper.
- Chill in the refrigerator for at least 30 minutes to harden.
- Store in an airtight container in the fridge for up to one week.
Notes
If the mixture feels too crumbly, add a splash of water or a little more nut butter to help it hold together. Skipping the chilling step can result in soft balls that fall apart easily.